Adobe InDesign - Export to PDF
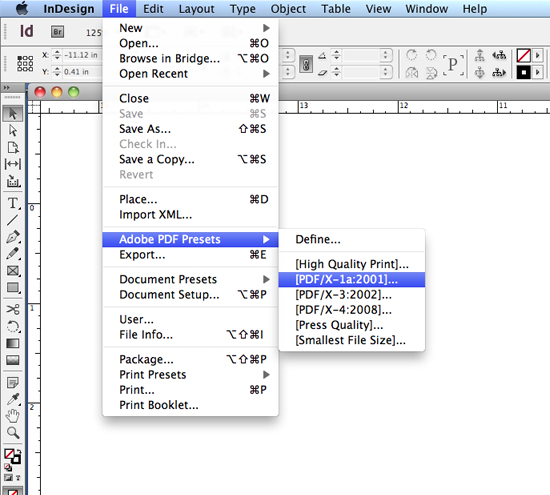
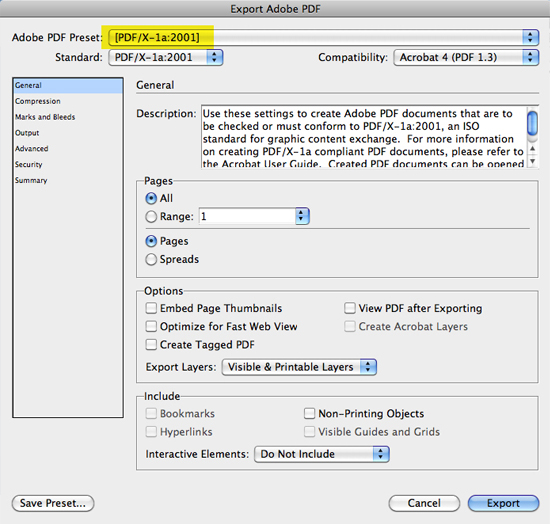
For offset printing, the X-1a Preset if the most reliable setting. It is a preset built into all versions of InDesign.
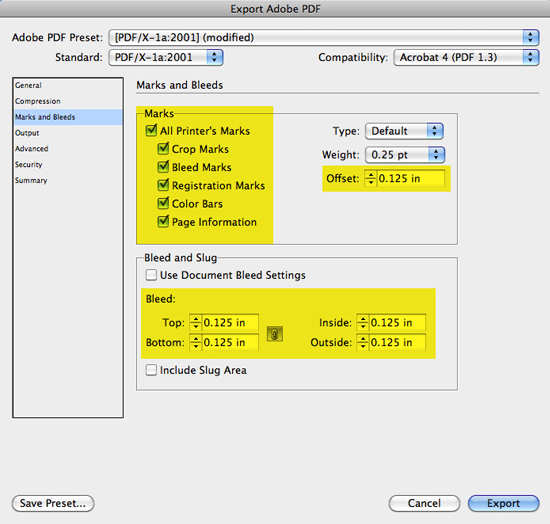
There are only a few modifications using X-1a highlighted below: